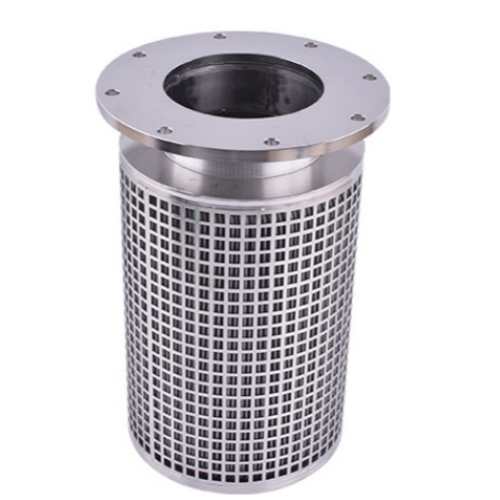
Installation Method of High-Efficiency Filters
The core of high-efficiency filter installation is to ensure tight sealing and avoid filter media damage, which requires standardized operation in five steps: Preparation → Cleaning → Positioning → Sealing → Inspection.
1.Pre-Installation Preparation
Confirm that the filter model matches the installation scenario, and verify that the efficiency class, size and sealing method meet the design requirements.
Inspect the filter appearance to ensure the filter media is free of damage and deformation, the outer frame has no scratches, and the sealing gasket is intact without falling off.
Prepare special tools, including a torque wrench, sealant (or gasket), cleaning tools (lint-free cloth, vacuum cleaner), and wear clean clothes and gloves.
Ensure the installation environment is clean to prevent construction dust and debris from entering the filtration system.
2.Cleaning of Installation Surface
Wipe the sealing surface of the filter installation frame (plenum chamber, air handling unit filter slot) with a lint-free cloth to remove dust, oil and debris.
If there are scratches or unevenness on the installation surface, fill them with sealant to make the sealing surface flat and smooth, without defects affecting sealing.
Use a vacuum cleaner to clean residual dust in the installation area to avoid dust being carried into the filter media by air flow after installation.
3.Positioning and Fixing
Place the filter according to the air flow direction mark (usually the arrow points to the air outlet) to ensure the correct direction, and do not install it in reverse.
Slowly insert the filter into the installation frame, adjust the position to make the outer frame fit the frame, with uniform gaps around, no deviation or inclination.
Fix it with pressure strips or bolts. Tighten the bolts symmetrically and evenly (torque controlled within the specified range, usually 4-6N·m) to avoid outer frame deformation due to excessive local force.
4.Sealing Operation
For gasket sealing: Ensure the sealing gasket is closely attached to the outer frame of the filter, without displacement or wrinkles. Press the gasket evenly during fixing to achieve full contact with the installation frame.
For sealant sealing: Apply a uniform layer of sealant along the edge of the installation frame (thickness 2-3mm), and immediately embed the filter to make the sealant fully bond with the filter outer frame, without gaps or bubbles.
Avoid excessive compression of the sealing gasket or sealant, which may lead to loss of elasticity and affect the sealing effect.
5.Post-Installation Inspection
Visual inspection: Check that the filter is firmly fixed, the outer frame is not deformed, and the sealing part has no gaps or looseness.
Leakage test: Use a particle counter to detect the sealing area. If leakage is found, re-adjust the position or replenish sealant until the leakage meets the standard (usually ≤0.01% leakage rate).
Air flow test: Start the system for trial operation, check the air volume and pressure difference, and confirm that there is no abnormal noise or air flow blockage.
Record the installation date, filter model and test results for subsequent maintenance and replacement reference.